Cauliflower Pizza Crust
on Feb 02, 2023
This post may contain affiliate links. Please read our disclosure policy.
As much as I love roasted cauliflower, there are so many other things you can do with this magical vegetable. That includes making cauliflower pizza crust. This low-carb pizza base is gluten-free. It’s just what you need for your pizza cravings.
With only 9 ingredients you can whip up homemade cauliflower crust. Then you can stick to store-bought toppings to keep things very simple. Yes, you can buy this crust premade, but why not give your own a try?
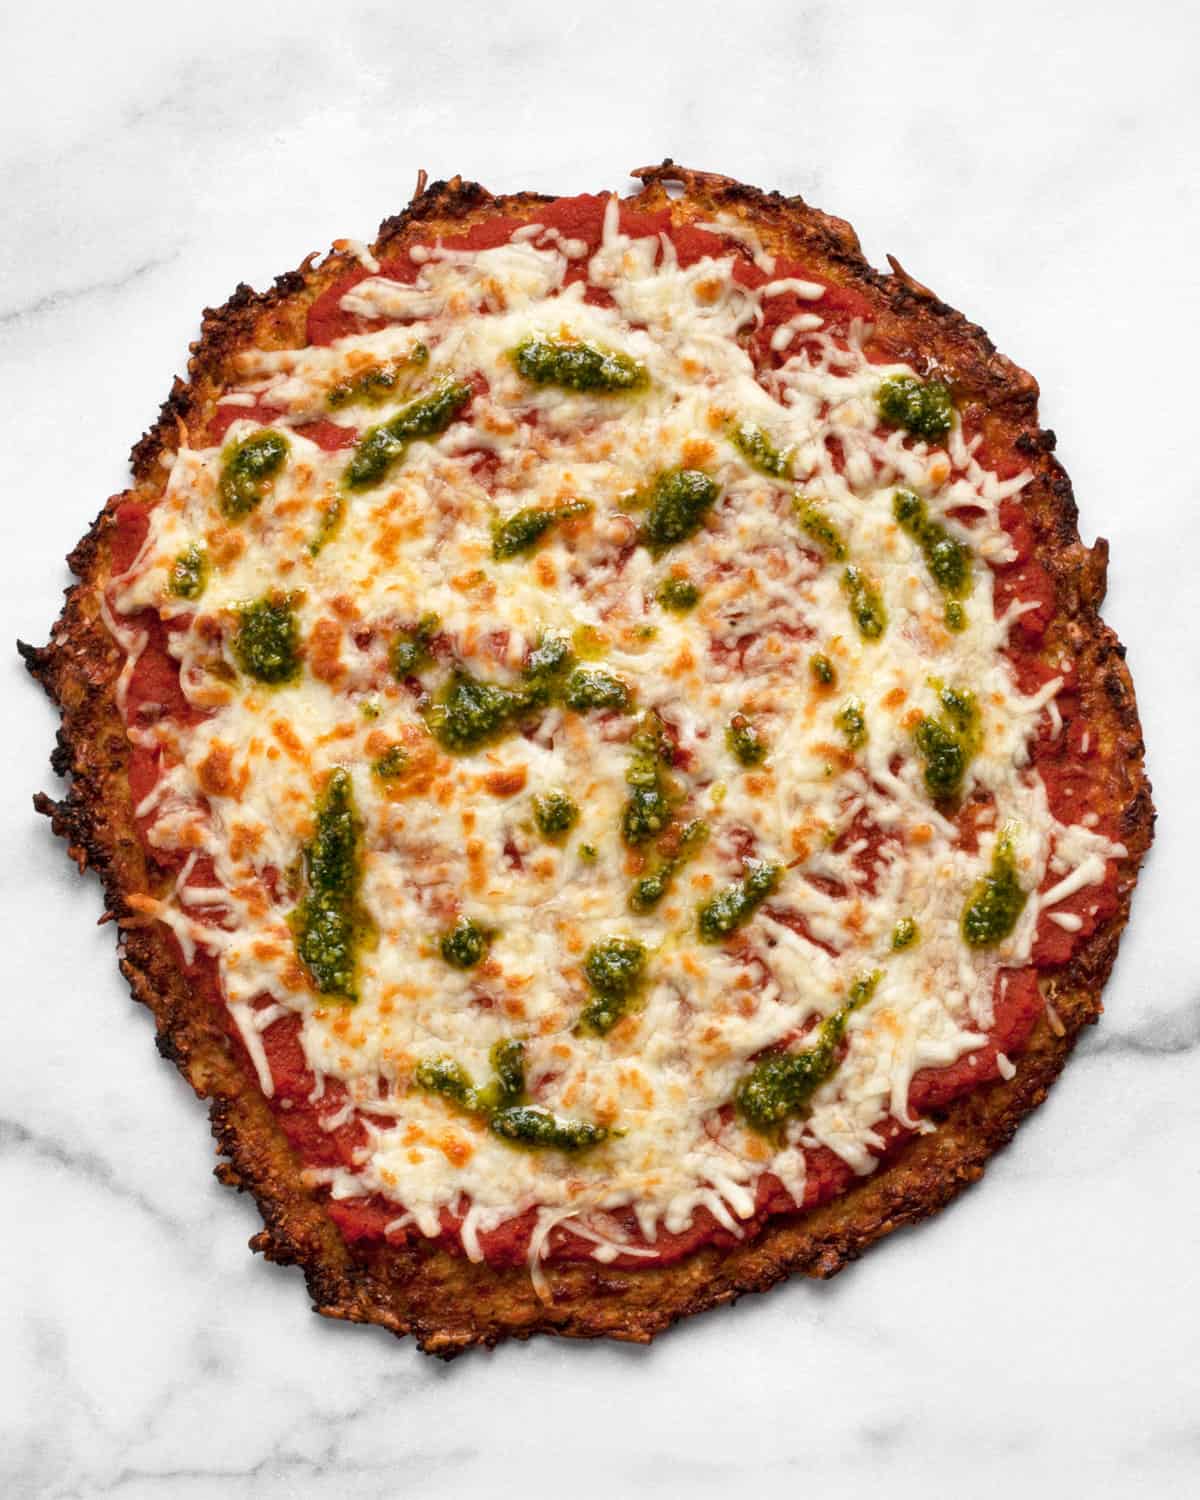
Table of Contents
Why You’ll Love This Recipe
This is a grain-free pizza. Whether or not you are avoiding carbs or gluten, this recipe is a wonderful alternative to the usual pizza. And it’s an easy way to eat more veggies.
The crust is packed with nutrition. With cauliflower as the main ingredient, this style of crust has plenty of vitamins, minerals, fiber and antioxidants.
You can make the crust in advance, and it’s freezer-friendly too. Bake the crust one day and then wait to assemble the pizza the next day. It’s up to you. Plus you can freeze it with or without toppings.
The Ingredients
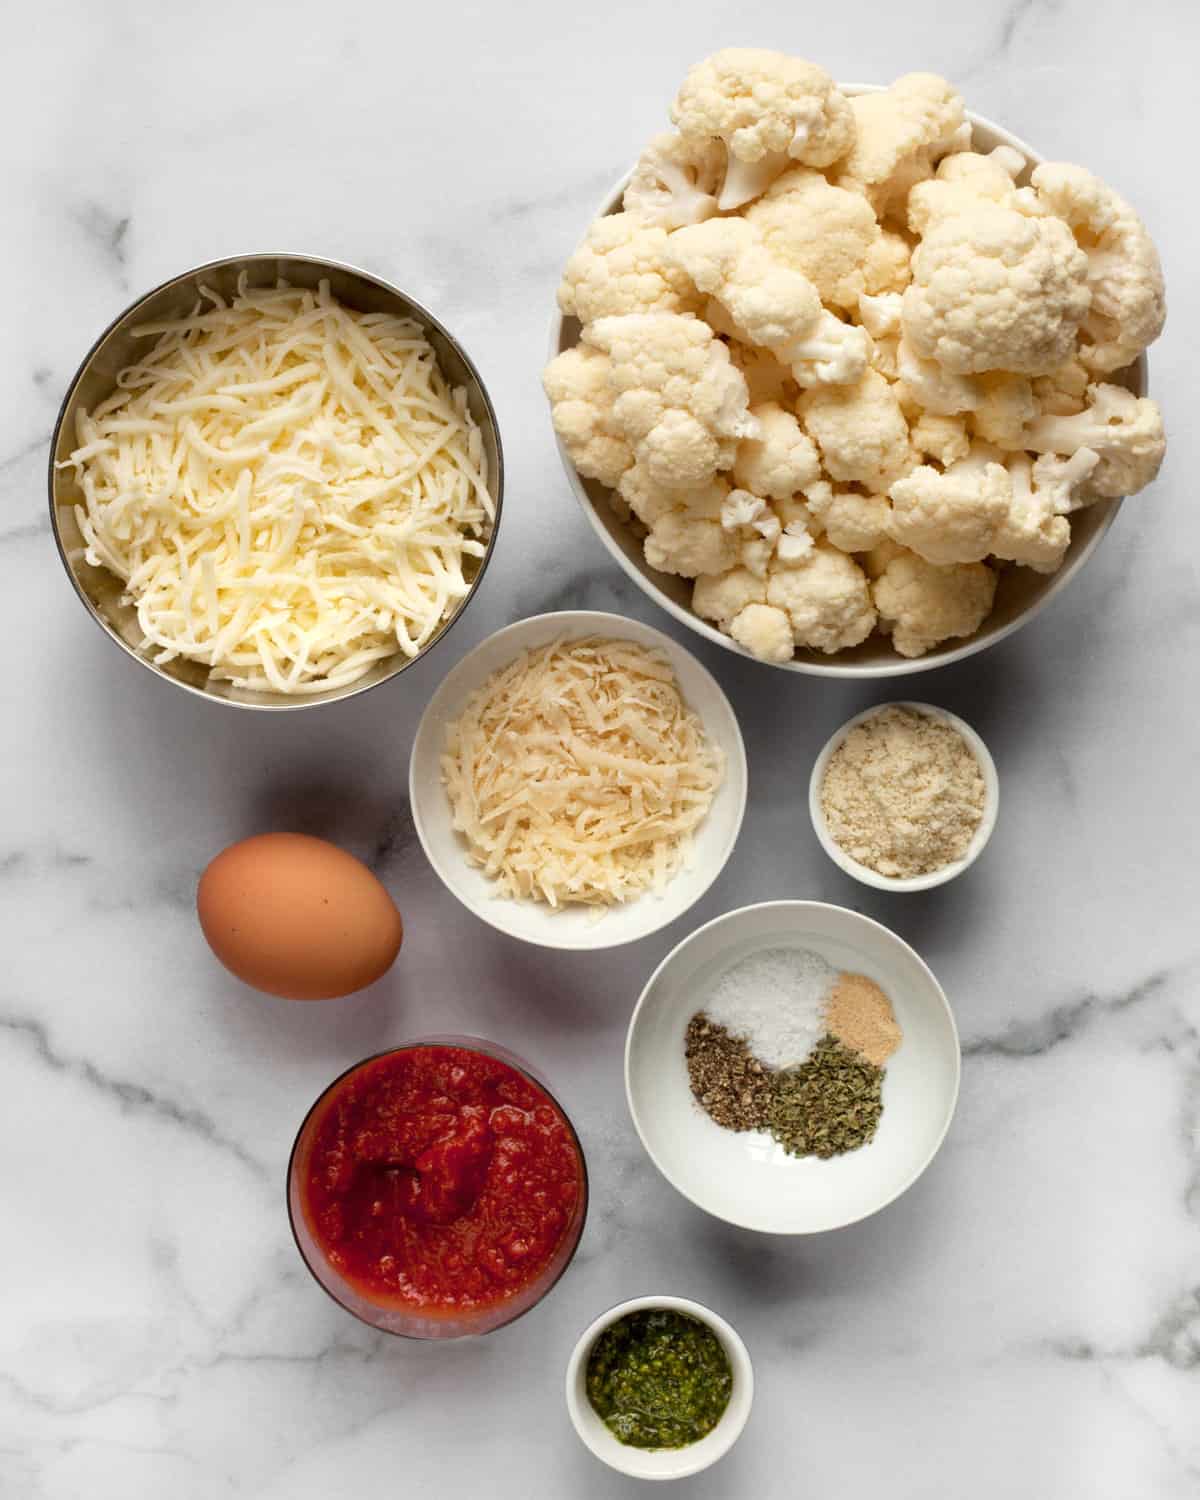
This is what you need:
- Cauliflower: Look for cauliflower that doesn’t have any brown or soft spots. Break the head into small to medium sized florets. It is very easy and quick to chop in a food processor, but you can buy riced cauliflower instead. Make sure it is fresh and not frozen.
- Egg is the liquid ingredient that holds the cauliflower and the rest of the crust ingredients together.
- Almond flour adds structure to the pizza crust and gives it a nutty taste to go with the cauliflower.
- Cheese: I use a combination of Parmesan cheese and shredded mozzarella cheese in the dough. The melted cheese also helps to bind the ingredients. As it bakes, the crust turns golden brown and caramelizes giving the pizza wonderful flavor and a chewy bite on the edges.
- Dried spices: The cauliflower crust is seasoned with oregano, garlic powder, salt and pepper. On its own this vegetable has very mild flavor, so it needs those spices to enhance it.
Pizza Toppings
- Cheese: You can’t go wrong with shredded mozzarella to top your pizza.
- Tomato sauce: For this crust, I like using a smooth pizza sauce rather than one that’s chunky.
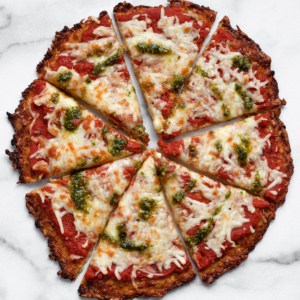
- Pesto is a wonderful herby and garlicky finishing touch. I drizzle it on the pizza after it finishes baking in the oven. You can add fresh basil leaves too.
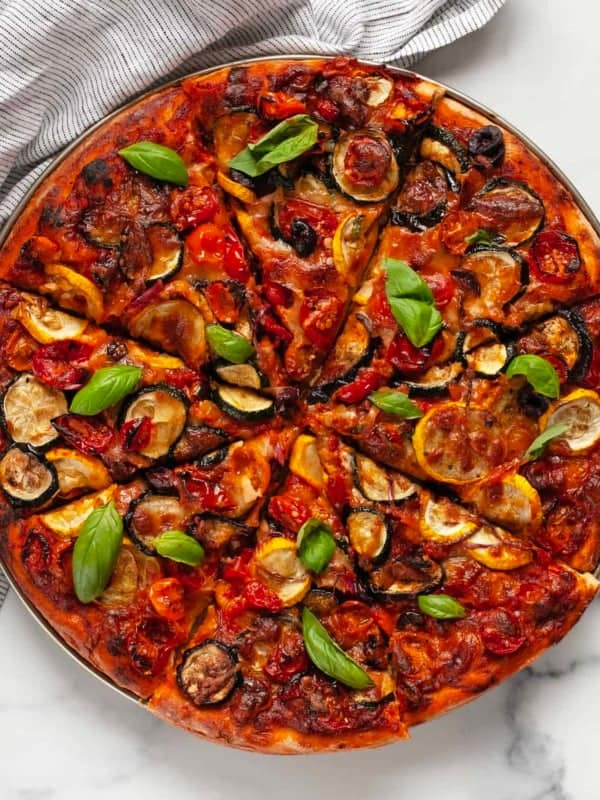
Here are a few more topping suggestions. But don’t go overboard to the point that you weigh down the crust:
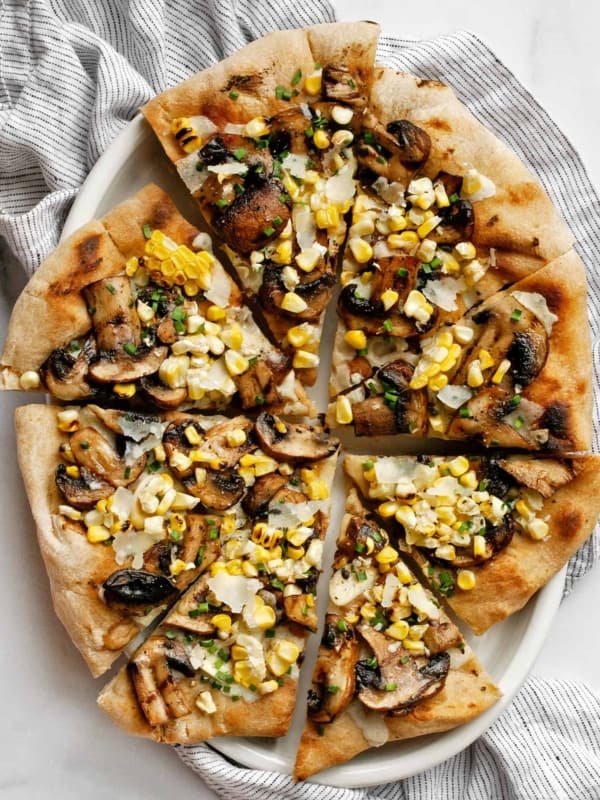
- Sautéed mushrooms
- Pitted olives (I love Kalamata.)
- Thinly sliced red onions
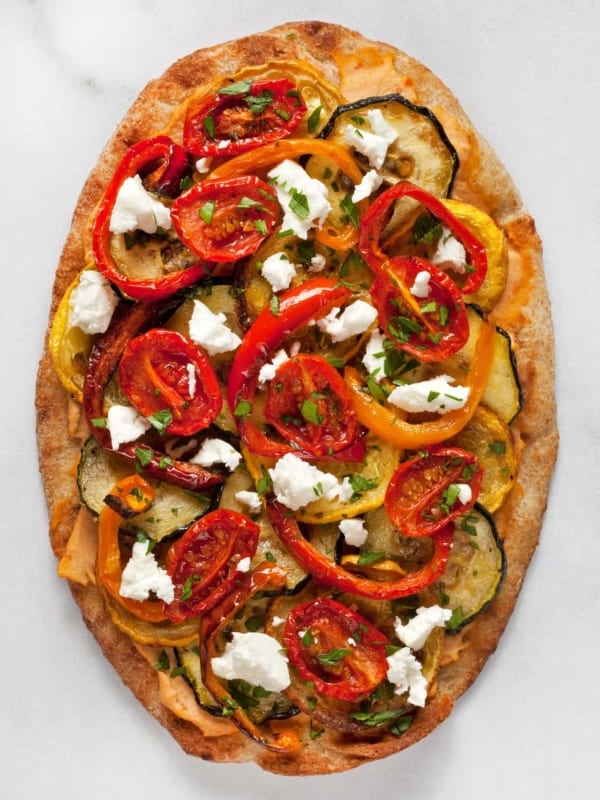
- Roasted red peppers
- Roasted tomatoes
How To Rice Cauliflower
The easiest and fastest way to finely chop small to medium cauliflower florets is with a food processor. Depending on the capacity of your model, you may need to do this in batches, so don’t overload it. Also, the cauliflower will chop very quickly, so keep an eye on it or use the pulse button rather than just turning it on. The last thing you want is cauliflower mush.
You can also use a cheese grater to rice cauliflower florets. This will take more time and it will probably come out a bit more coarse since you are doing it by hand.
For a shortcut, you can buy cauliflower rice from the refrigerated case in the produce section of many grocery stores. Avoid frozen because it has too much moisture content. This is also helpful if you don’t have a food processor in your kitchen.
How To Make Cauliflower Pizza Crust
Preheat the oven to 425 degrees F. Line 2 sheet pans with parchment paper.
1. Finely chop the cauliflower in a food processor. You should not see any big chunks.
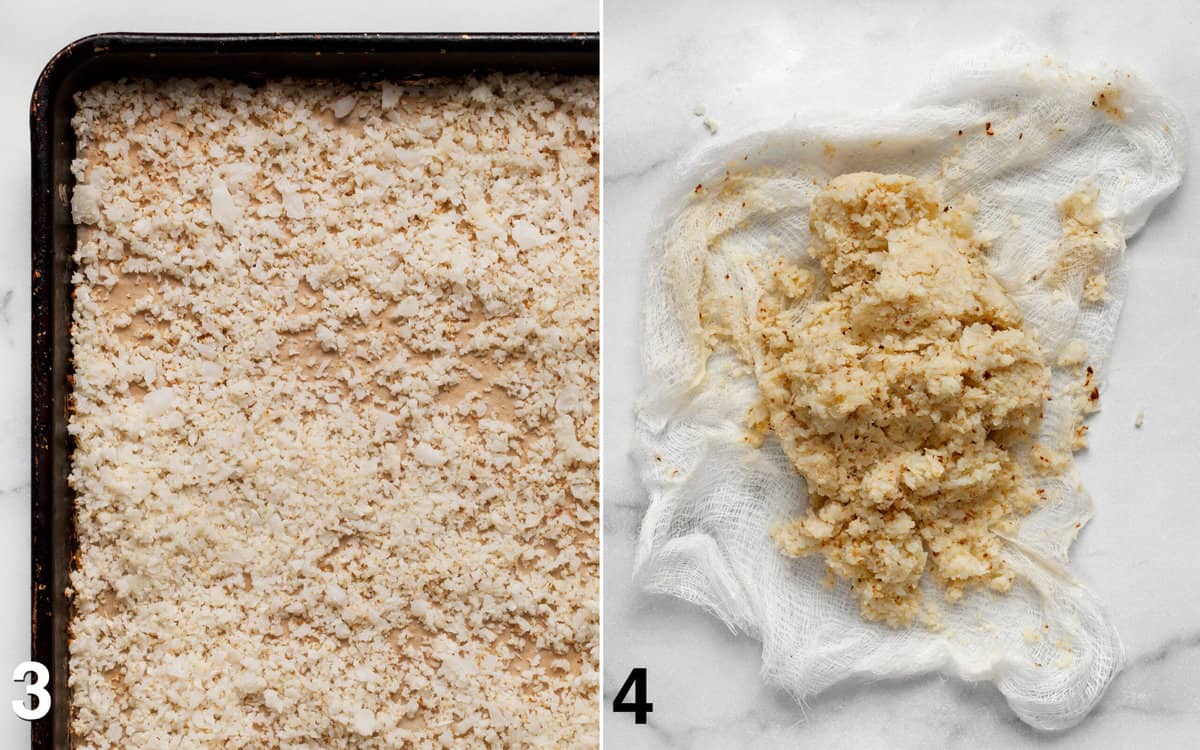
2. Spread the cauliflower across one of the lined pans.

3. Bake the cauliflower for 15 minutes, stirring halfway through roasting. You want the grains to be tender, but not mushy. Some will brown more than others at the edges, and that’s ok. Then let the cauliflower cool slightly.
4. Put the cauliflower in cheesecloth or a clean dish towel. Gather the ends to create a pouch and squeeze out as much liquid as you can. This is important, so the crust doesn’t turn out soggy.
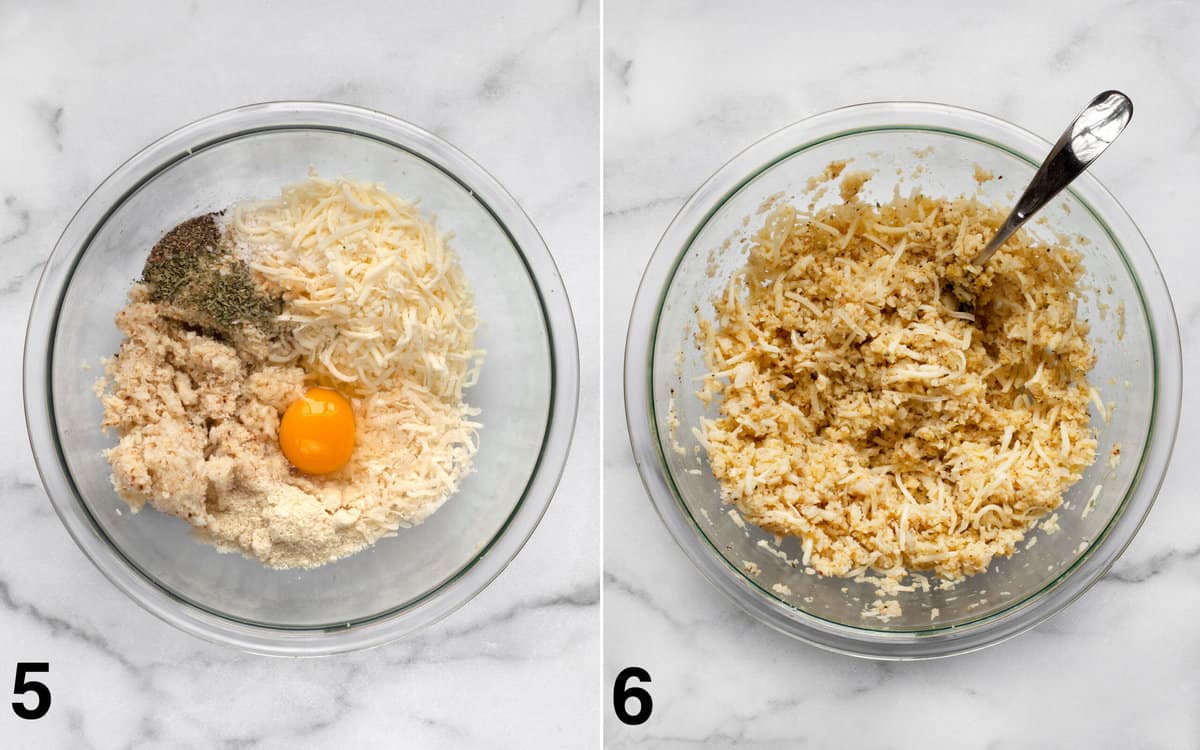
5. Combine the cauliflower, egg, almond flour, Parmesan, mozzarella, garlic powder, oregano, salt and pepper in a large bowl.
6. Stir everything together until a damp, shaggy dough forms. You should be able to shape this cauliflower mixture into a loose ball.
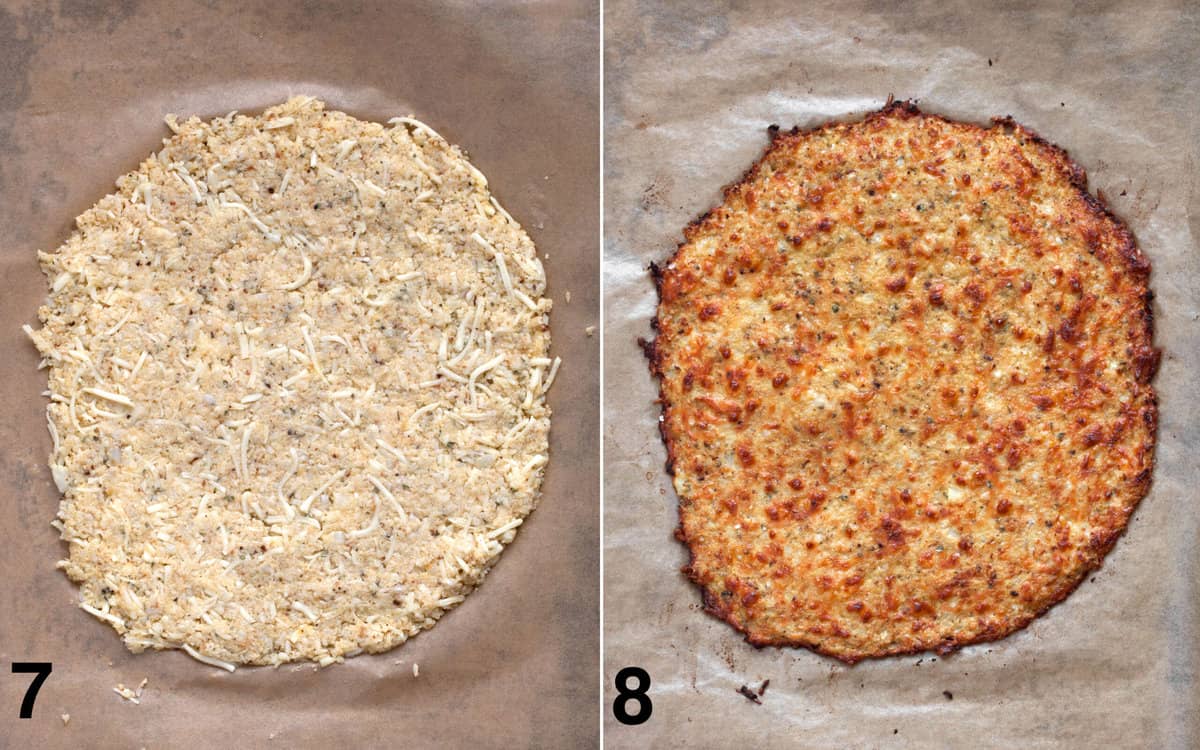
7. Transfer the dough to the other lined baking sheet and press it into 10-12-inch diameter circle that’s about 1/8-inch thick.
8. Bake the crust for 20-25 minutes until it is golden brown.
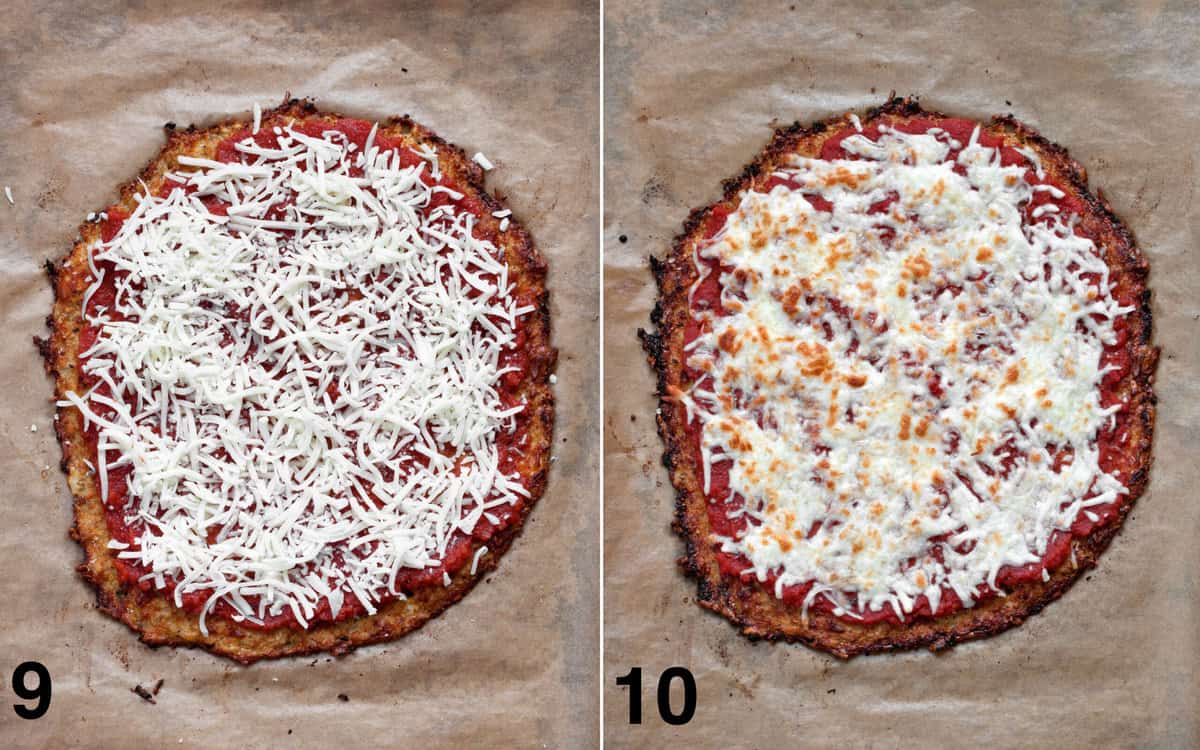
9. Assemble the pizza. Spread on the tomato sauce leaving a 1-inch border. Sprinkle with mozzarella and your desired toppings.
10. Turn the broiler on high to melt the cheese, about 2-3 minutes. Drizzle with pesto before serving.
Alternate Method for Cooking Cauliflower Rice
I prefer roasting the cauliflower in the oven to dry it out. You can also microwave it on high for 5 minutes to cook it. Make sure to put it in a microwave-safe bowl and cover it. Let the cauliflower sit for 1 minute before uncovering the bowl.
Serving
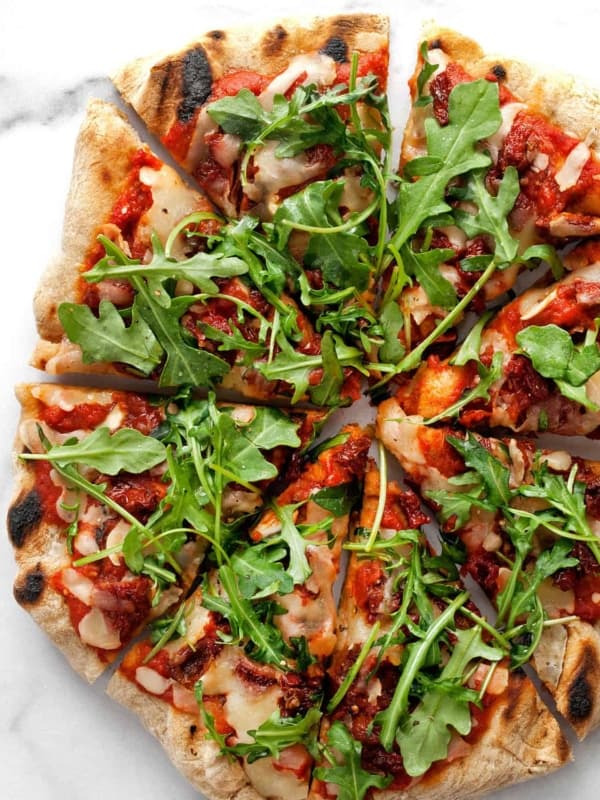
This pizza is great for lunch or dinner. You can serve it with a salad such as an Italian chopped salad or an arugula salad with lemon vinaigrette. For soup as a side dish, try roasted tomato soup or pasta e fagioli Soup.

Storing Leftovers
You can keep the pizza in an airtight container in the fridge up to 3 days. Eat it cold or warm it up in the oven at 375-degrees F for 8-10 minutes. The pizza will be softer than when it is first baked. Always let the pizza cool to room temperature before storing it.
Make Ahead Tips & Freezing
You can bake the crust and refrigerate it before adding the toppings. If you do this, I recommend warming it on a parchment lined baking pan in a 375-degree F oven for 8-10 minutes before adding your toppings and broiling the pizza to melt the cheese. As mentioned, the crust will have the best texture when it is first baked. It will be softer when you reheat it whether it is refrigerated or frozen.
To freeze the crust, wrap it with foil to store it. Then bake the crust in a 425-degree F oven for 20-25 minutes. Add your toppings and broil the pizza on high for 1-2 minutes.
To freeze the baked crust with uncooked toppings, wrap it with foil to store it. When you are ready to eat the pizza, bake it in a 425-degree F oven for 25-30 minutes. This will give the crust time to warm up and for the cheese to melt. You can broil it for a minute to brown the cheese.
Recipe Tips
Set your expectations. Cauliflower pizza crust will not have the same texture, consistency and chew of traditional pizza crust made with flour and yeast. It has its own character and is very tasty. The crust is softer, but it has a lot more flavor.
Don’t skip roasting the riced cauliflower and squeezing out the moisture. Otherwise your crust will turn out dense if you don’t try to get out as much water as you can.
Always use fresh cauliflower. Frozen cauliflower has more moisture in it and you won’t end up with crust that has a chewy bite on the edges.
Keep your toppings light. This crust doesn’t have the same structure as regular pizza dough. Even if you are still planning to eat it with a fork and knife, it’s better if you don’t overdo it with too many toppings.
More Cauliflower Recipes
Roasted Cauliflower Kale Salad
Tahini Roasted Broccoli and Cauliflower
Cauliflower White Bean Soup
Roasted Cauliflower and Chickpeas with Herby Tahini
Harissa Roasted Cauliflower Couscous
Roasted Curried Cauliflower
Cauliflower Spinach Pesto Pasta
Did you make this pizza recipe? Please leave a rating and comment below. Thanks!
Cauliflower Pizza Crust
Ingredients
For crust
- 1 head cauliflower about 1 pound
- 1 large egg
- 2 tablespoons almond flour
- 1/4 cup grated Parmesan cheese
- 1 cup shredded mozzarella cheese
- 1/2 teaspoon oregano
- 1/4 teaspoon garlic powder
- 1/2 teaspoon kosher salt
- 1/2 teaspoon black pepper
For pizza
- 1/2 cup tomato sauce
- 1 cup shredded mozzarella cheese
- 2 tablespoons pesto
Instructions
- Preheat the oven to 425 degrees F. Line 2 baking sheets with parchment paper.
- Trim the leaves off the head of cauliflower. Cut it into small to medium florets.
- Finely chop the cauliflower in a food processor until it resembles rice. You may have to do this in batches depending on capacity.
- Spread the chopped cauliflower across one of the sheet pans. Bake for 15 minutes, stirring halfway through cooking. The cauliflower should be tender but not mushy and some of it will be lightly browned at the edges.
- When the cauliflower is cool enough to handle, wrap it in a pouch with cheesecloth or a clean kitchen towel. Squeeze out as much moisture as you can.
- In a large bowl, combine the cauliflower, egg, almond flour, Parmesan, mozzarella, oregano, garlic powder, salt and pepper. Stir together the ingredients until they are fully combined and come together in a rough dough.
- On the other sheet pan, press the cauliflower mixture into a 10-12-inch diameter circle that is about 1/8-inch thick.
- Bake the crust for 20-25 minutes until it is golden brown.
- To assemble the pizza, spread on the sauce leaving a 1-inch border. Add the cheese and the rest of your desired toppings.
- Switch the broiler on high and melt the cheese on the pizza. This will take 2-3 minutes. Watch the pizza, so it doesn’t brown too much under the broiler.
- Drizzle the pizza with pesto and serve warm.
Notes
Nutrition
Nutrition information is automatically calculated, so should only be used as an approximation.
Originally published April 11, 2016. Updated: February 2, 2023.


Great vegan pizza recipe. Thanks for posting!